
Painting kitchen cabinets: A practical, step-by-step guide to transform your space
Learn how to paint kitchen cabinets effectively, with prep, tools, techniques, and maintenance tips.
Painting kitchen cabinets can dramatically refresh your space without a full remodel. With careful prep, the right materials, and a steady hand, you can achieve a smooth, durable finish that looks professional. Below is a practical, step-by-step guide to help you plan, execute, and maintain a cabinet painting project from start to finish.
Materials list by category for painting kitchen cabinets
| Item category | Examples / options | What to consider | Recommended qty (approx) |
|---|---|---|---|
| Surface prep | Sandpaper grits, degreaser, tack cloth | Dust removal, grease, edges | 2–3 items, 1–2 each |
| Primers | Bonding primer, stain-blocking primer | Compatibility with cabinet material | 1–2 primers |
| Paint types | Alkyd enamel, self-priming latex, acrylic enamel | Sheen, durability, odor | 1–2 types |
| Topcoats | Satin, semi-gloss, gloss | Washability, glare | 1–2 finishes |
| Tools | Brushes, rollers, spray gun, air assist | Coverage, technique | 2–4 tools |
| Safety gear | Mask, gloves, goggles | Ventilation, safety | 1 set |
Compiled November 2026; check the provider's site for current details.
Planning and prep: set the foundation for success
Before you lift a brush, get organized. A successful cabinet painting project hinges on thorough prep and a realistic plan.
Assess and clean
- Remove all doors, drawers, hardware, and any shelves you’ll repaint.
- Wipe every surface with a mild degreaser or a TSP substitute to remove grease and fingerprints.
- Use a mild abrasive like 320- to 400-grit sandpaper or a sanding sponge to scuff the existing finish so primer can adhere.
Repair and prime
- Fill dings and dents with lightweight spackling or wood filler. Let dry and sand flush.
- Use a high-quality bonding primer, especially if you’re painting over glossy lacquer, bare wood, or laminate.
- For steady coverage, consider a stain-blocking primer if you’re worried about wood bleed or tannins.
Organize and protect
- Label doors and hinges so you can reassemble quickly and correctly.
- Cover surrounding countertops, floors, and walls with drop cloths or painter’s plastic.
- For long projects, take photos of hardware placement to aid reassembly.
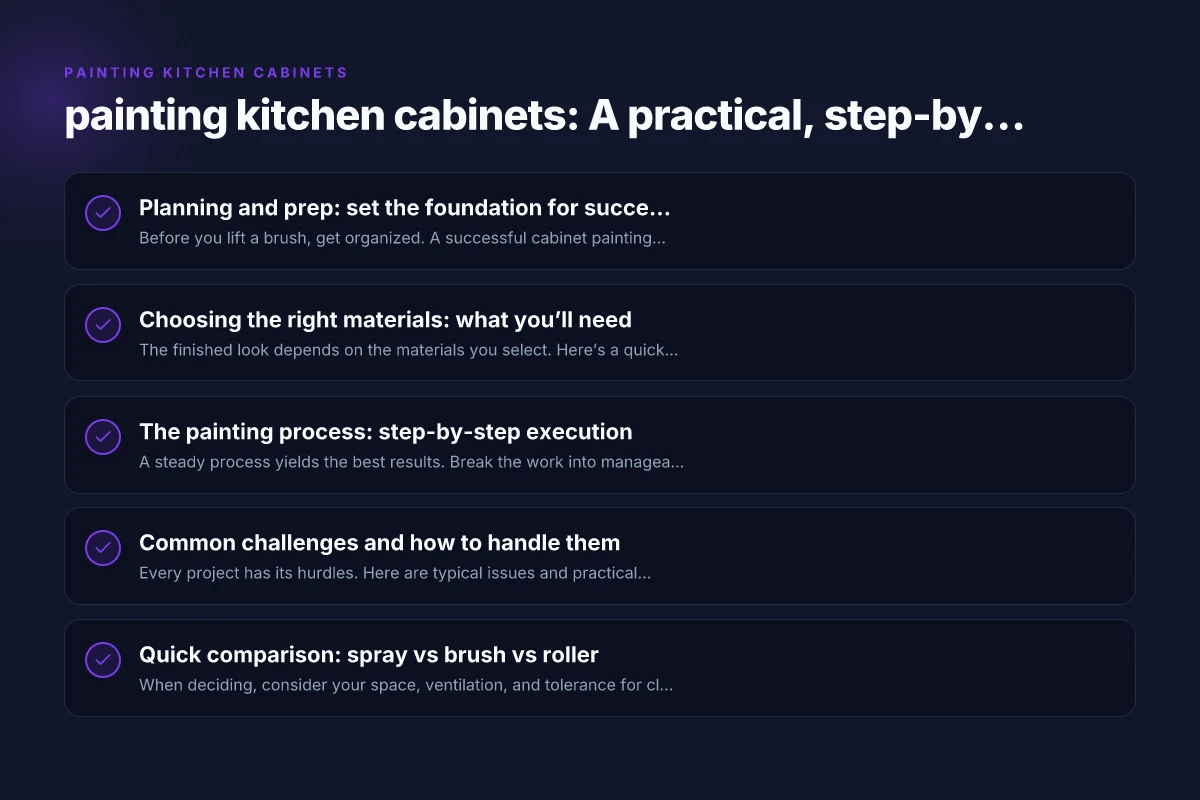
Choosing the right materials: what you’ll need
The finished look depends on the materials you select. Here’s a quick guide to get you started.
Paint types and finishes
- Water-based acrylic or latex enamel: Easy cleanup, lower odor, good durability for cabinets.
- Semi-gloss or gloss finishes: Best for kitchen cabinets due to wipeability and scrubbability. -Oil-based enamels (alkyd): Very durable but higher odor and longer cure times. Less common with modern low-VOC products.
- Chalk and mineral-based paints: Aesthetic options for a farmhouse or matte look, but may require extra topcoats for durability.
Top coats and sealants
- Polyurethane or polycrylic: Use a clear topcoat to improve durability. Water-based polycrylic is an easy option for interiors.
- Washable topcoats: Select products labeled as scrubbable or washable for high-traffic kitchens.
Tools and supplies
- High-quality brush sets, especially angled sash brushes for doors and arches.
- Foam rollers for smooth surfaces and even coverage.
- Paint sprayer (optional) for a near-perfect finish on large runs, requires more masking and ventilation.
- Sanding block or orbital sander (220–320 grit for finish coats).
- Tack cloths to remove dust between coats.
- Painter’s tape, drop cloths, and masking film.
The painting process: step-by-step execution
A steady process yields the best results. Break the work into manageable phases.
Phase 1: priming
- Apply primer evenly with long, smooth strokes. Avoid drips by maintaining a wet edge.
- Lightly sand the dried primer with 320–400 grit to knock down imperfections. Remove dust with a tack cloth.
- If you’re covering dark stains or woods with bleed, apply a stain-blocking primer or multiple coats as needed.
Phase 2: first coat
- Stir paint thoroughly. Avoid creating bubbles.
- Apply a thin, even coat using a brush or a sprayer. Keep brush strokes consistent and follow the grain direction where possible.
- Let the coat dry completely per the manufacturer’s guidelines before sanding lightly with a fine-grit pad (320–400).
Phase 3: second coat and refinements
- Lightly sand between coats to ensure adhesion and remove brush marks.
- Wipe away dust with a tack cloth before applying the final coat.
- Apply a second (and sometimes third) coat for uniform color and durability. Do not rush the cure time.
Phase 4: reassembly and finishing touches
- Reattach doors, drawers, and hardware only after the final coat has fully cured.
- Replace or upgrade hardware for a refreshed look (new hinges or soft-close drawer slides can elevate the result).
- Check for any touch-ups needed at corners, edges, or intricate details.
Step-by-step painting process options and timing Paint colors for master bedroom intended for the house
| Step | Spray | Brush | Roller | Typical duration per step | Notes |
|---|---|---|---|---|---|
| Prep | yes | yes | yes | Full prep day | Degrease, sand, clean |
| Priming | yes | yes | yes | Half day | Apply even coat |
| Sand between coats | light | light | light | 15–60 min between coats | Remove dust |
| First coat | yes | yes | yes | 2–4 hours cure time | Even coverage |
| Second coat | yes | yes | yes | 2–4 hours cure time | Check for thin spots |
| Drying | requires ventilation | requires ventilation | requires ventilation | 4–24 hours | Temperature dependent |
Compiled November 2026; check the provider's site for current details.
Common challenges and how to handle them
Every project has its hurdles. Here are typical issues and practical fixes.
Bleed-through and wood tannins
- Staining woods like pine can bleed through the paint. Use a stain-blocking primer and consider sealing with a clear shellac-based primer before topcoating.
Brush marks and lap lines
- Maintain a wet edge and use long, even strokes. If brush marks persist, switch to a higher-quality brush or a foam roller for smoother results.
Peeling or chipping paint
- Ensure proper surface prep and that you used a suitable primer for the substrate. If peeling occurs, remove the failed finish, prime again, and recoat.
Fogging or orange peel texture
- Reduce spray distance or adjust nozzle and flow rate if using a sprayer. For rollers, use a nap length appropriate for smooth surfaces and avoid overworking.
Quick comparison: spray vs brush vs roller
| Method | Pros | Cons | Best use case | | Spray | Super smooth, factory-like finish; quick on large runs | Requires masking; higher skill; more cleanup | Laminate or smooth surfaces; large cabinet areas | | Brush | Easy setup; strong control; minimal equipment | Possible brush marks; slower | Detail work, corners, and edges | | Roller | Fast coverage; good for flat panels | May create texture; less control on edges | Mid-size projects; painted flat cabinet panels |
When deciding, consider your space, ventilation, and tolerance for cleanup. A hybrid approach, priming with a spray for uniform foundation and finishing coats with a brush for control, can balance speed and quality. Outstanding mens bedroom ideas intended for warm
Quick comparison: spray vs brush vs roller for cabinet painting
| Method | Speed | Finish quality | Overspray risk | Odor | Clean-up effort | Best for |
|---|---|---|---|---|---|---|
| Spray | fast | very smooth | high | high | high | Large areas, professional look |
| Brush | moderate | traditional, visible strokes | low | moderate | moderate | Edges, detailed work |
| Roller | moderate-fast | smooth with slight texture | low | moderate | low | Flat panels, medium finish |
Compiled November 2026; check the provider's site for current details.
Maintenance and care after painting
A painted cabinet finish can look great for years with proper care.
- Clean with mild, non-abrasive cleaners or soap and water. Avoid harsh solvents.
- Use soft cloths or microfiber for wiping. Avoid rough scrubbers on glossy finishes.
- Refrain from using sharp tools or abrasive pads that can scratch the surface.
- Plan periodic touch-ups for chips or scuffs to prevent further damage.
- If doors start to show wear, a light scuff and new topcoat can refresh the surface without a full redo.
Final section: the recommendation
If you’re aiming for a refreshed kitchen without the disruption of a full remodel, painting cabinet doors and frames is one of the most cost-effective options. Start with a clear plan: decide on a paint type and finish that suits a busy kitchen, gather durable primers and topcoats, and invest in quality tools. Thorough prep, patient execution, and proper maintenance will yield a durable, beautiful result that feels like a true upgrade. Outdoor Kitchens: How to Plan, Build, and Enjoy Your Backyard Culinary Oasis
For most DIYers, a water-based acrylic enamel in semi-gloss or gloss provides a balance of durability, ease of cleanup, and a modern look for kitchen cabinets. Use a bonding primer on glossy or difficult substrates, sand between coats for a smooth finish, and allow ample cure time before reattaching doors and hardware. If you’re unsure about your technique, consider a small test project on a cabinet door before committing to the entire run. With careful planning and steady hands, painting kitchen cabinets can rival professional results.