
Information about antique furniture refinishing
A practical guide to refinishing antique furniture, balancing preservation and restoration carefully.
Antique furniture refinishing is a delicate craft that blends historical respect with modern techniques. The goal isn’t to erase the piece’s history but to stabilize, protect, and enhance its beauty. This guide walks you through the key steps, common pitfalls, and decision points so you can approach refinishing with confidence and care.
Understanding when to refinish — Key indicators and timing options
| Indicator | When to refinish | Signs it's overdue | Pros of early refinishing | Cons of delaying |
|---|---|---|---|---|
| Wood condition | Light to moderate damage | Cracking, checking, warping | Preserves value | Higher cost later |
| Finish wear | Incomplete protective layer | Visible wear through to wood | Maintains appearance | Risk of deeper damage |
| Value impact | High-value pieces | Visible blemishes | Maintains resale value | Time pressure increase |
| Usage | Heavy vs. light use | Frequent moisture exposure | Better protection for busy objects | More prep needed if late |
| Restoration goals | Restore original look | Color mismatch or dull finish | Best authenticity | Requires more work later |
Compiled November 2026; check the provider's site for current details.
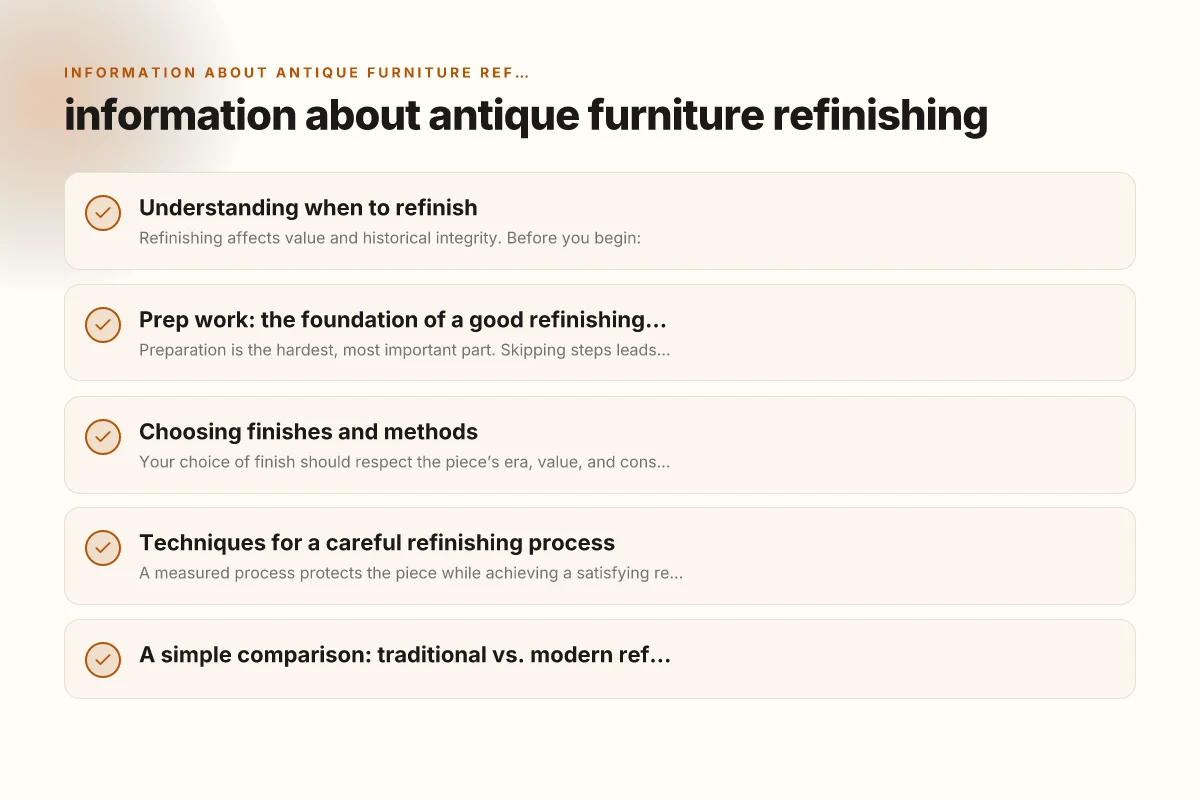
Understanding when to refinish
Refinishing affects value and historical integrity. Before you begin:
- Distinguish between cleaning, stabilization, and refinishing. Cleaning removes dirt. Stabilization prevents further damage. Refinishing changes color, texture, and sheen.
- Consider the furniture’s age, maker, and provenance. Early pieces with hand-carved details or original finishes may be best left as-is or conservatively stabilized.
- Evaluate structural condition. If joints are loose or wood is severely cracked, address those issues first.
- Test with a small area. Always test refinishing products on inconspicuous spots to gauge reaction.
Signs that refinishing is appropriate
- Surface finishes are flaking, lifting, or deeply scratched.
- The piece has a lost or uneven sheen that can’t be restored with cleaning or polishing.
- You want to preserve or reproduce a historically accurate appearance (e.g., a known period finish).
Signs that you should conserve instead
- The original finish is intact but has patina and wear that tell the story of the piece.
- The furniture shows significant burl, maple, or fruitwood grain that would be diminished by aggressive sanding.
- There are maker’s marks or restoration clues that might be erased by new finishes.
Prep work: the foundation of a good refinishing job
Preparation is the hardest, most important part. Skipping steps leads to peeling finishes, poor adhesion, and uneven results.
Assess and document
- Photograph the current state from multiple angles.
- Note any repairs, replacements, or non-original elements.
- Decide your target finish: same era look, different color, or a lighter finish to reveal the grain.
Disassembly and protection
- Remove hardware carefully. Keep screws and plates organized.
- Protect the surrounding area with drop cloths. Ventilate well if you're indoors.
- Stabilize loose joints with appropriate glues or clamps before you begin sanding.
Cleaning and stripping options
- Gentle cleaning: mild soap and water or mineral spirits for certain finishes. Rinse and dry thoroughly.
- Stripping: use a chemical stripper suitable for the original finish, following safety guidelines. Work in small sections and remove old finish in thin layers.
- Sanding: start with a coarser grit to remove previous layers, then move to finer grits. Avoid aggressive sanding that could erase tool marks or original edges.
Choosing finishes and methods
Your choice of finish should respect the piece’s era, value, and construction. There are traditional and modern approaches, each with pros and cons.
Traditional refinishing approaches
- Shellac-based finishes: warm, amber tone. Easy to repair. Not water-resistant.
- Oil-based finishes (tung oil, linseed): deepen grain while offering moderate protection. Takes longer to cure.
- French polishing: a meticulous method using shellac and pads to achieve a high-gloss, museum-like finish. Requires skill and patience.
Modern refinishes
- Polyurethane and water-based poly: durable and resistant to moisture. Can obscure wood grain if over-applied.
- Conversion varnish: strong protection suitable for heirlooms that will see daily use. Requires careful application.
- Danish oil and wipe-on finishes: simple, fast-drying options that enhance grain without heavy buildup.
How to choose
- Consider exposure: high-traffic pieces may benefit from durable finishes. Antique or decorative pieces may prioritize appearance over ruggedness.
- Respect the grain: some woods (mahogany, figured maple) look best with low-build finishes that highlight natural depth.
- Reproduction goals: if you’re aiming for a period-accurate look, research the era’s typical finishes and sheen levels.
Techniques for a careful refinishing process
A measured process protects the piece while achieving a satisfying result. Furniture repair when to use professional services
Stripping and surface leveling
- Apply stripper as directed, then scrape with non-marring tools to avoid gouging.
- Neutralize or wash off residues completely. Dry thoroughly.
- Sand progressively to achieve a smooth surface, staying aware of any original carvings or inlays.
Repairs and stabilization
- Fill small cracks with matching filler. Avoid heavy fillers that stand out.
- Reattach loose veneer using appropriate adhesives. Clamp until cured.
- Address any structural issues (joints, legs, rails) for long-term stability.
Staining, dyeing, and color matching
- Test stains on a hidden area or a sample board to ensure color balance with the wood’s age.
- Consider toning to unify color. Avoid over-darkening which can obscure grain and patina.
- If the piece has historical finish remnants, you may want to preserve some of the color in the final blend.
Finishing and curing
- Apply a protective topcoat suitable for the desired look (low-luster varnish, satin shellac, etc.).
- Build layers thinly to avoid runs or brush marks. Allow proper drying time between coats.
- Lightly sand between coats for a smooth, even surface. Remove dust before each recoat.
Prep work — essential steps and decision points
| Step | Description | Required tools | Time estimate | Best practice | Risk if skipped |
|---|---|---|---|---|---|
| Cleaning | Remove dirt/oils | Soft cloth, mild cleanser | 15–30 min | Thorough wipe | Residue impedes adhesion |
| Stripping or sanding | Remove old finish | Grits 120–220, scraper | 1–4 hrs | Test patch first | Finish failure later |
| Repair | Fill scratches, stabilize joints | Wood filler, clamps | 30–90 min | Use matching colors | Visible repairs |
| Sanding sequence | Even smooth surface | PSA sandpaper, block | 1–3 hrs | Progressively finer grit | Rough surface |
| Fill gaps | Light filling for cracks | Wood filler, palette knife | 15–45 min | Match tone | Uneven look |
| Dust removal | Final clean before finish | Tack cloth | 5–10 min | Thoroughly dust-free | Finish defects |
Compiled November 2026; check the provider's site for current details.
A simple comparison: traditional vs. modern refinishing outcomes
| Aspect | Traditional refinishing | Modern refinishing |
|---|---|---|
| Goal | Preserve patina, produce period-appropriate finish | Durability and ease of maintenance |
| Common finishes | Shellac, wax, oil, French polish | Polyurethane, conversion varnish, wipe-on oils |
| Tools | Hand-wiping pads, fine brushes | Brushes, sprayable coatings, heat-assisted strippers |
| Risk to original | Higher due to more aggressive sanding or stripping | Lower if done with gentle sanding and conservative coatings |
| Maintenance | Regular dusting; occasional re-waxing | Occasional cleaning; re-coating every 5–15 years depending on use |
Avoiding common mistakes
- Over-sanding original edges and moldings, which can remove tool marks and patina that give character.
- Using a modern high-build finish on a delicate antique with fine veneer.
- Skipping ventilation and protective gear when using chemical strippers and solvents.
- Failing to test color and finish on inconspicuous areas before full application.
Documentation and ethical refinishing
- Keep a record of what you did: products used, dates, and any structural repairs.
- Label or photograph original hardware and any replacements for future owners or restorers.
- When in doubt, consult a professional conservator, especially for valuable or historically significant pieces.
Finishes and methods — comparing options
| Finish type | Pros | Cons | Best use | Quick tip | Typical time to cure (handling) |
|---|---|---|---|---|---|
| Lacquer | Fast build, clear look | Strong fumes, requires ventilation | High-end modern piece | Good solvent control | Light cure in hours, full cure days |
| Shellac | Repairs easily, warm glow | Water sensitive | Antique warmth | Avoid moisture | Quick handling after cure |
| Oil (Danish, tung) | Rich depth, easy repair | Reapplication needed | Low-to-mid use | Wipe-on convenience | Curing days to weeks |
| Polyurethane | Durable, protective | Can amber over time | High-use surfaces | Test color | Reaches full cure in days |
| Water-based | Low odor, fast dry | May raise grain | Kids’ or dining furniture | Stir well | Light handling after 24–48h |
| Wax | Soft sheen, easy touch-ups | Does not protect well | Decorative pieces | Buff regularly | Not full cure concept |
Compiled November 2026; check the provider's site for current details. 4 Sectional couch features ideal for avid readers
Final recommendations
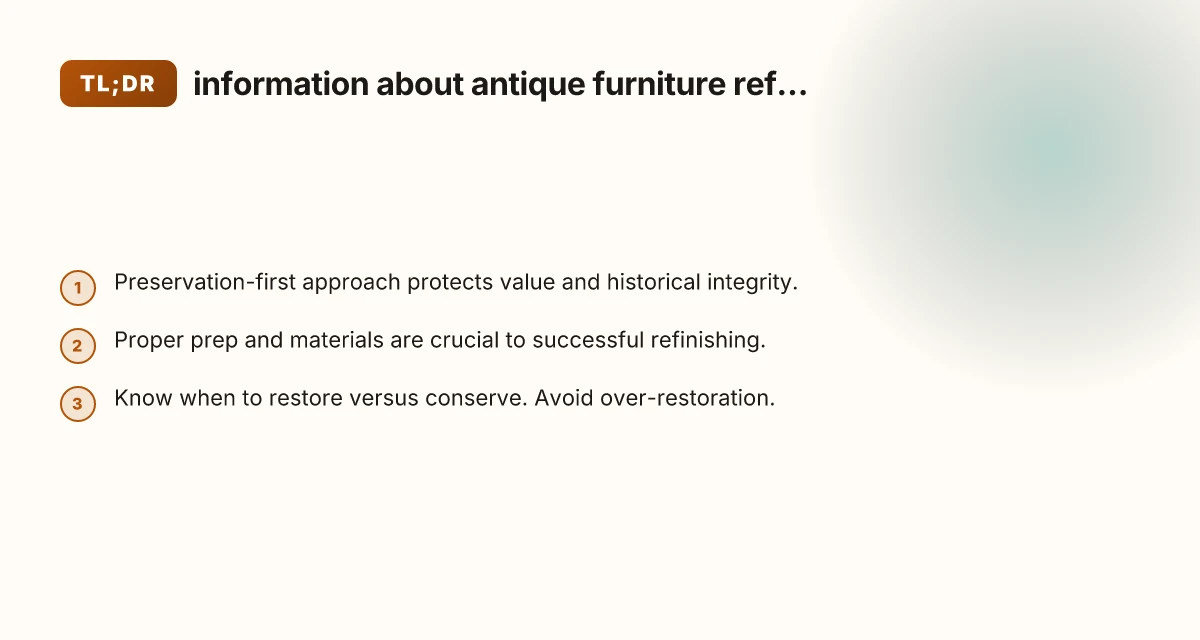
If you’re new to antique furniture refinishing, start with a small project or a test panel to build confidence. Prioritize preservation: sometimes the best choice is to stabilize or clean rather than refinish entirely. Learn the wood species and typical finishes associated with your piece’s era, and aim for a finish that protects and enhances without erasing the piece’s history. When you’re ready to proceed, follow a careful plan, document every step, and consider seeking expert advice for valuable or complex items.